As a full time blogger and YouTuber, I don’t know what I would do without Canva.
Sure, I could learn how to use Photoshop and Illustrator and get better at Lightroom (I’m a novice, at best).
But for 80% of the graphic design tasks I need completed, Canva is perfect.

I’ve been a Canva Pro customer for years now, but you can do so much with the free version – it’s really a no brainer for bloggers.
In this article about how to use Canva, I’ll share 10 ways fashion bloggers can (and should) use this graphic design tool for their business.
But first…
What is Canva?
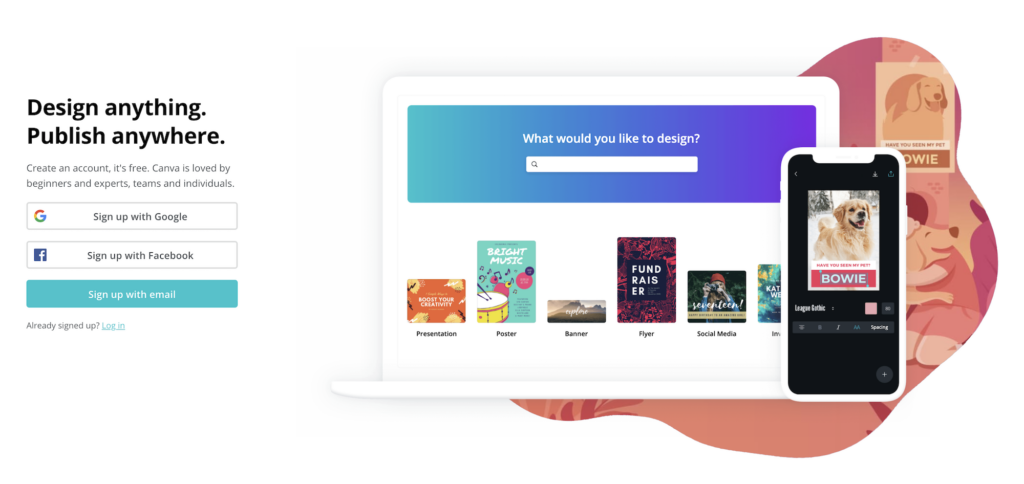
Canva is an online graphic design tool that lets you create any type of design you need, from social media graphics and YouTube thumbnails to full presentations and media kits.

Canva’s intuitive drag and drop editor and basic photo manipulation tools make graphic design easy, even if you don’t know what you’re doing (like me).
Canva also provides a huge library of illustrations, fonts, stock photos, animations and templates, so you never have to start from scratch or try to hunt down a royalty free image.
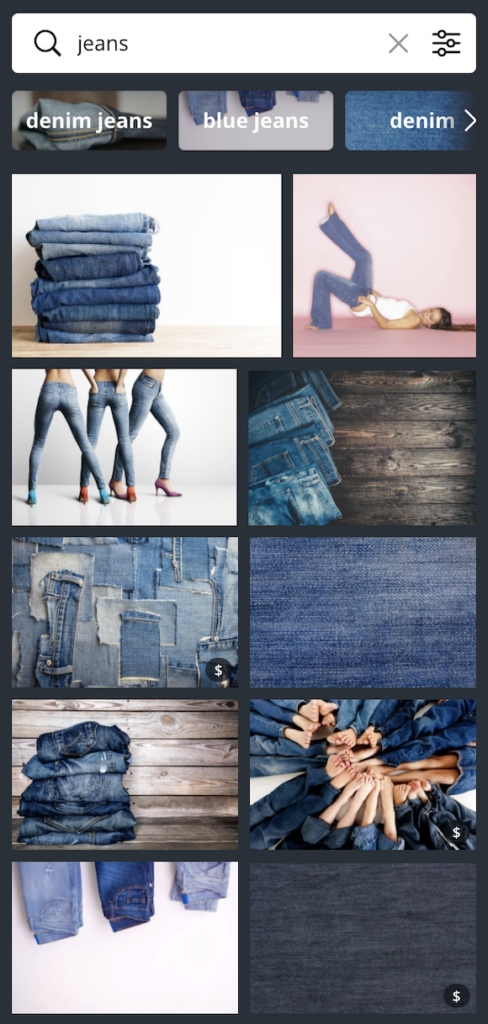
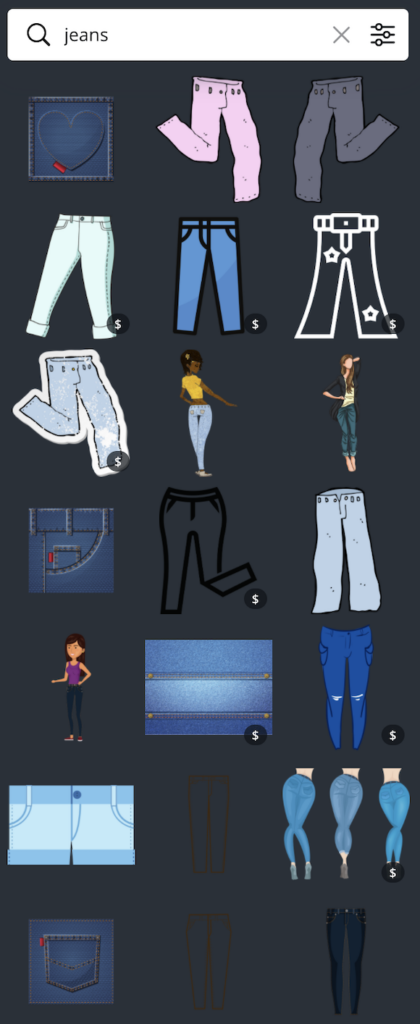
You can use Canva via your web browser (which is how I always use it) or their mobile app.
It’s free to use, and the Pro plan is just $9.95/month when paid annually. If you haven’t used Canva before, I recommend starting with the free plan.
How to Get Started With Canva
If you want to give Canva a try, just go to canva.com, create a free account, and give the design tool a try.
I think you’ll be surprised by how easy it is to create professional looking designs.
If you’re on your phone right now, check out the Canva mobile app.
10 Ways to Use Canva for Bloggers
Over the past couple years, I’ve found more and more ways to use Canva.
Here’s how I’m using Canva for my small media business (blogging and YouTube).
#1: Simple Photo Editing
If I need to crop and resize a photo, or do some very minor editing (like adjusting the saturation or contrast), I’ll use Canva instead of Preview or Lightroom.
Why? Because it’s really, really fast and easy.
For example, I could take this photo:
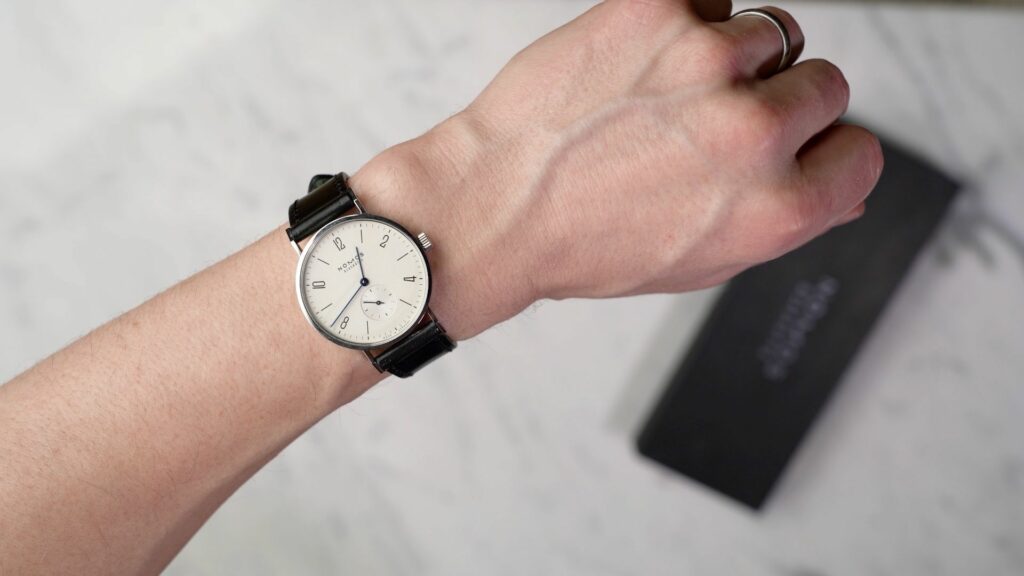
It’s a large file, the watch face isn’t big enough, the colors are dull, etc.
So I used Canva to spruce it up before uploading to WordPress for use in a blog post.
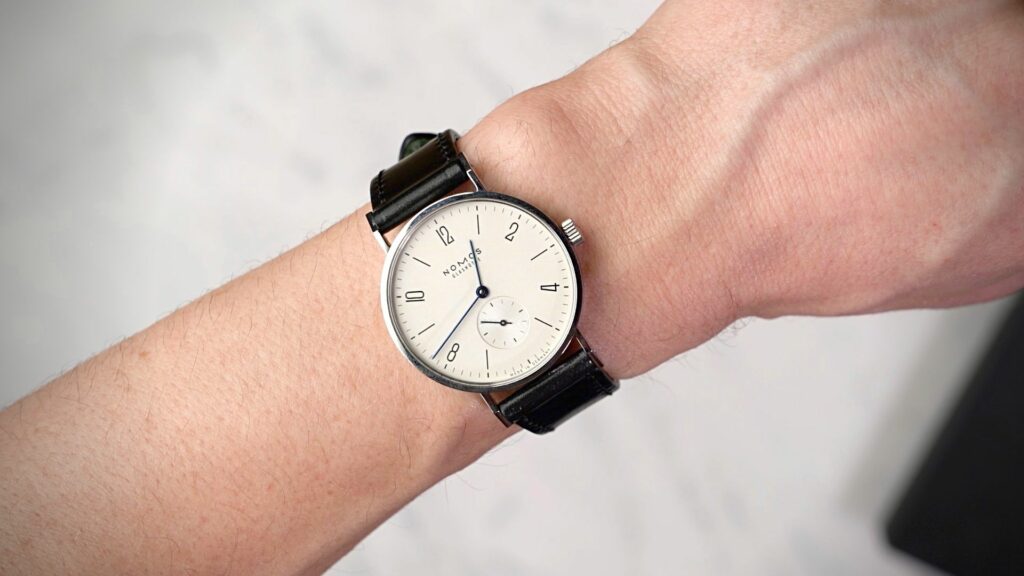
Small file, cropped down, vibrant colors
I also use Canva’s export options to make sure the file size is small since big image files can slow down your website.
#2: Side-by-Side Comparisons
Since I run a blog about men’s style, much of my content is informational and instructional.
I’m trying to teach guys what to wear and what not to wear.
For example, I have a post about how jeans should fit, and I wanted to explain pants rise to my readers.
I used a side-by-side graphic to make things as clear as possible:
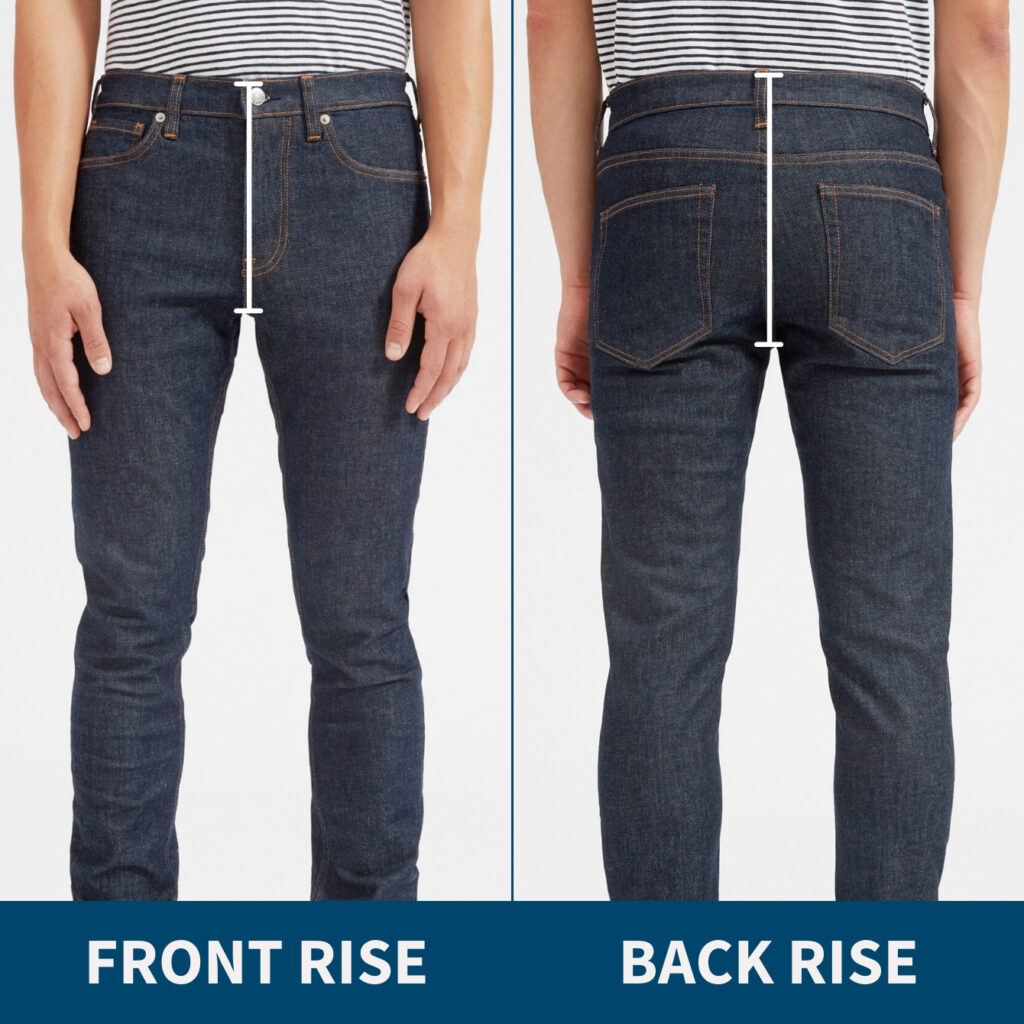
This type of simple comparison graphic is extremely easy to create in Canva. You just use a “grid” element with two vertical sections.
When you drag and drop a picture into one of the sections, it automatically fills up that area.
I can make a side comparison graphic like the example above in less than two minutes, even with the additional elements and text.
#3: Panels
Similarly, sometimes you want to show multiple examples next to each other in one image.
For example, in this post about outerwear, I wanted to give readers four outfit ideas that feature various types of winter jackets.
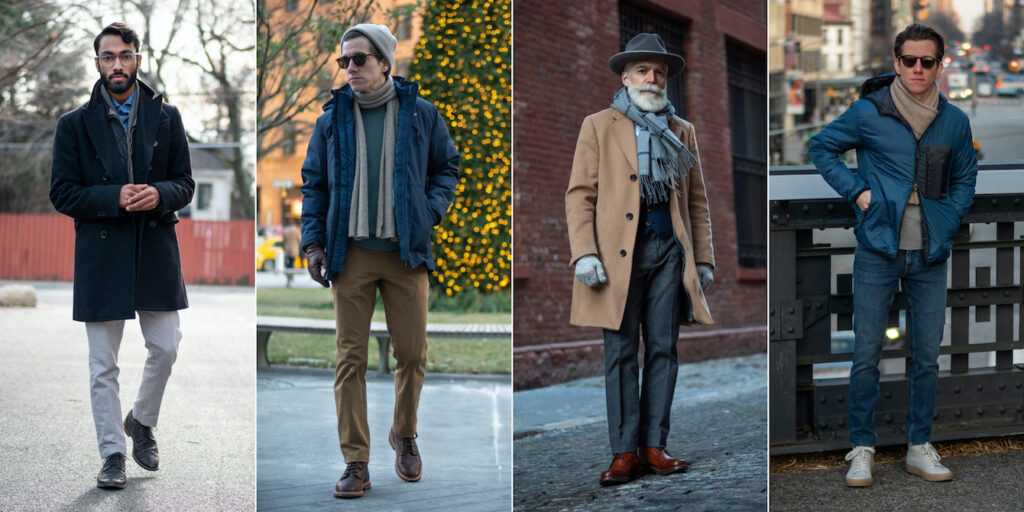
Again, using Canva’s grid element, this only took a couple minutes to create.
You can also change the spacing and background colors to make these panel graphics unique for your blog.
#4: Grids
Here’s another way to use Canva grids: make a collage.
You can choose from an endless variety of grids depending on how many spaces you need and what orientation you prefer.
For example, maybe you want to show one full body outfit pic, plus two detail shots.
You simple select this grid:

And fill it in with your photos:
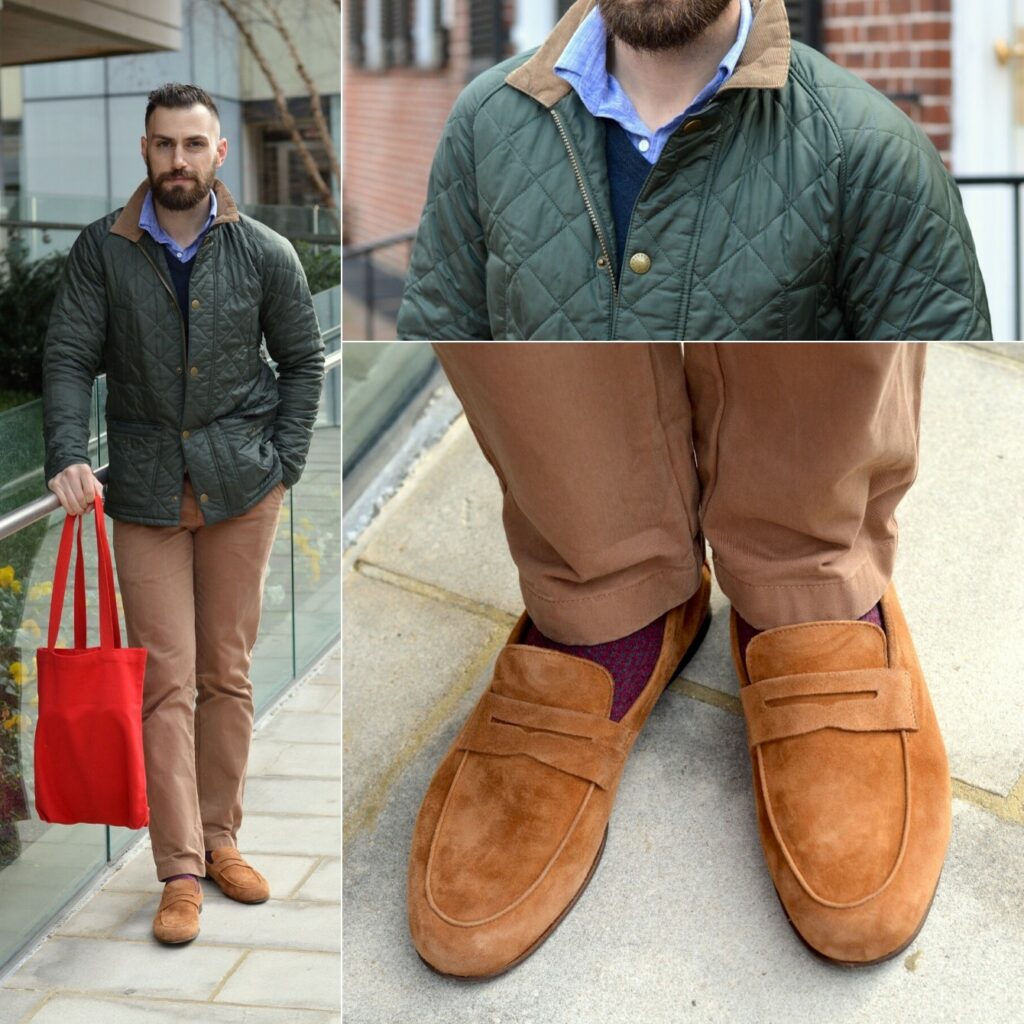
I think these kind of images help add a bit of editorial flair to your content. They’re also great for sharing on social media.
#5: Featured Images
Most WordPress themes use featured images, which are images associated with a blog post that show up in your blog feed and on archive pages (like category pages).
Other sites use “hero” images at the top of each article (or at least their most important articles).
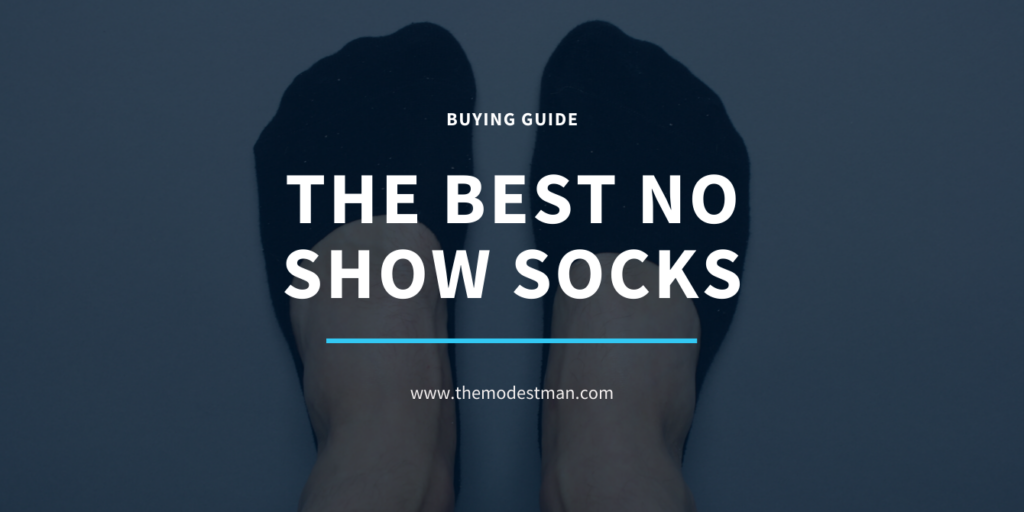
You can definitely just use regular photos for these images, but you can also spice things up with custom designed graphics.
It gives your content a more professional, thoughtful look and feel. Readers get the impression that you really put some time and effort into the piece (because you did).
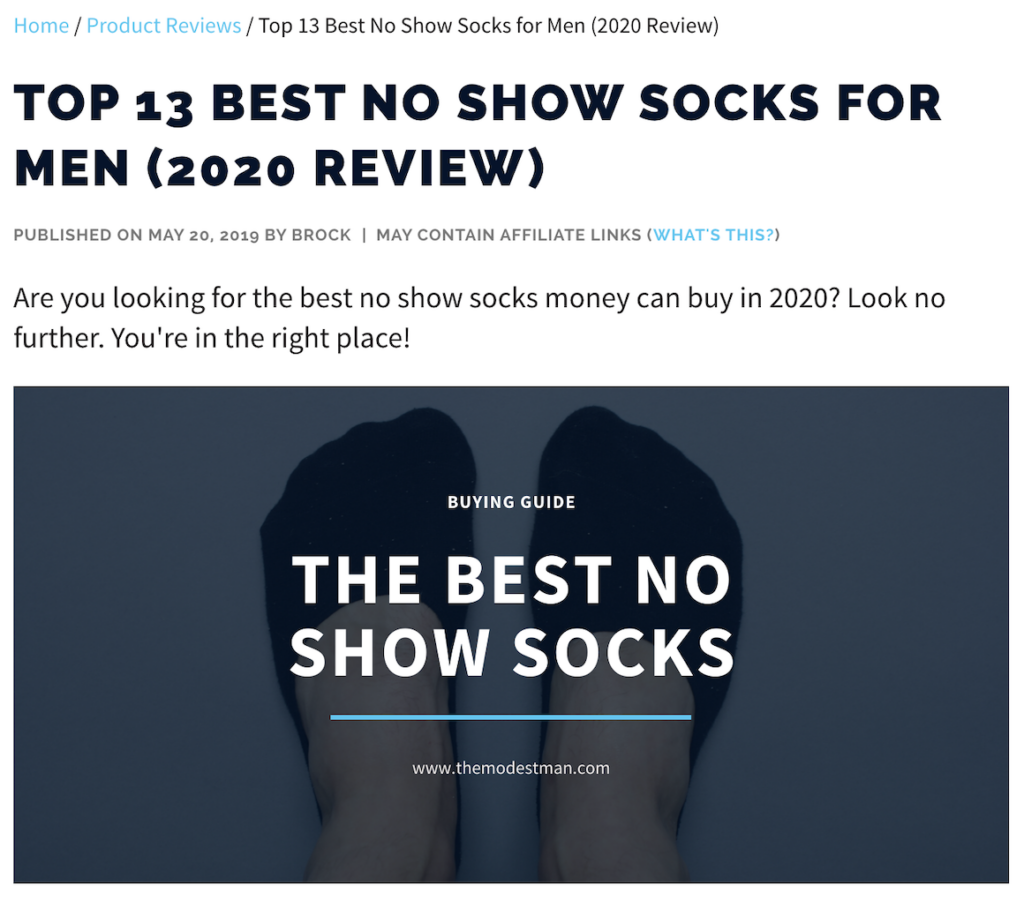
I think that custom featured images, or custom images at the top of each post, are one of the easiest ways to improve your content and set your blog apart from the rest.
Canva makes it very easy to create these graphics.
#6: YouTube Thumbnails
If you have a YouTube channel, you probably know that solid titles and thumbnails are absolutely crucial, if you want to grow your audience.
I’ve used Photoshop and/or Illustrator to make thumbnails, but these days I pretty much always use Canva.

It’s just so much faster and easier. Some of my highest performing thumbnails were created in Canva.
I’ve made so many of them that I have a few “templates” I can use a starting points. But you can also use Canva’s free library of YouTube thumbnail templates.
#7: Mini Infographics
One way that I set my blog’s content apart from other men’s style blogs is by including more images.
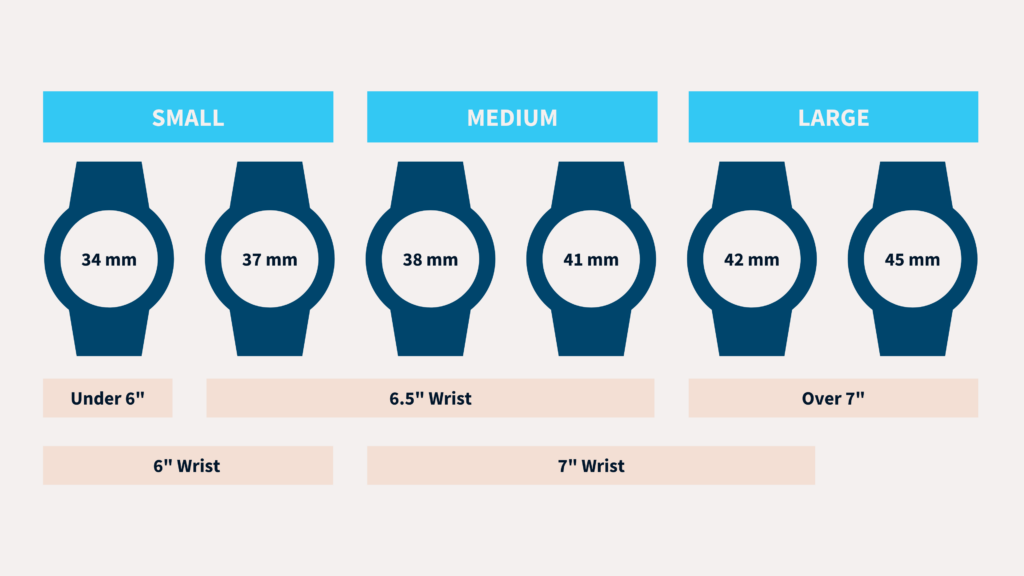
Every style blog has photos, but most of them don’t have any infographics.
I’m not talking about long, complicated “infographics” that cost thousands of dollars to make.
I’m talking about simple, helpful graphics that help illustrate your points visually, like this one:
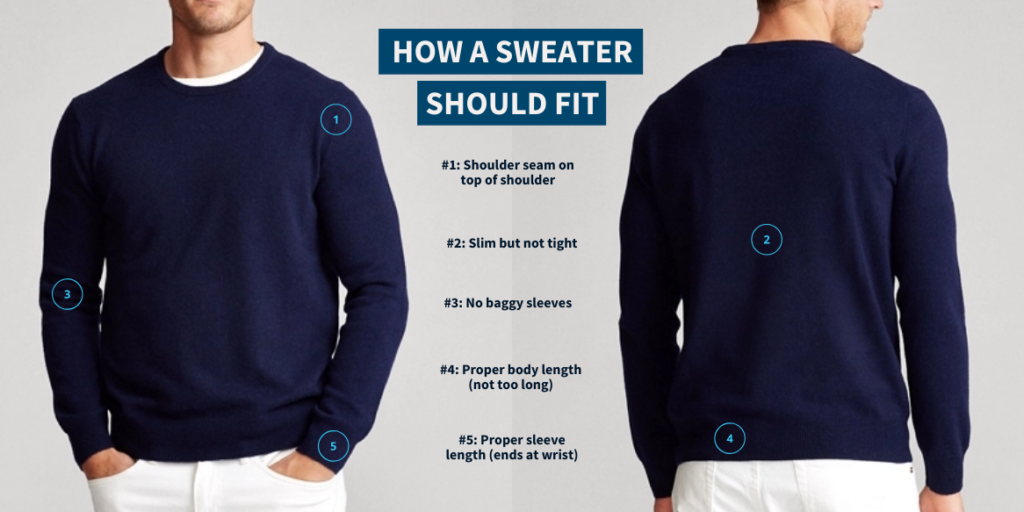
These are great for readers and tend to get shared a lot on social media (especially Pinterest).
You can keep it very simple:
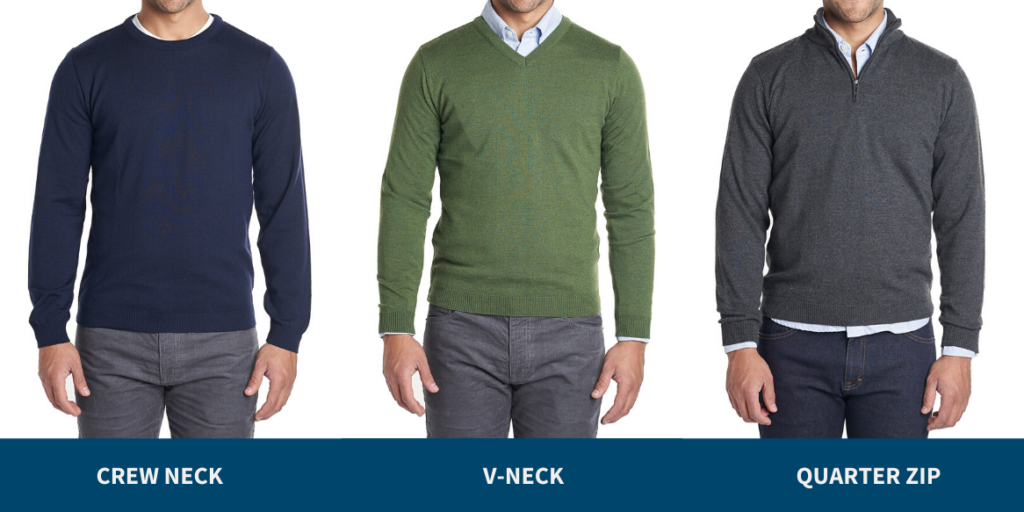
Even a basic comparison with a bit of text overlay will enhance your content and make your blog stand out.
#8: Social Media Graphics
If you’re using social media platforms to drive traffic to your blog, or you’re building audiences on Facebook, Pinterest, etc., you need custom graphics for each platform.

The problem is, these platforms all have different specs and limitations for what kind of images can be shared.
Facebook has a different aspect ratio than Twitter. Pinterest and Instagram Stories prefer portrait orientation (vertical images), while other platforms want a 1:1 ratio.
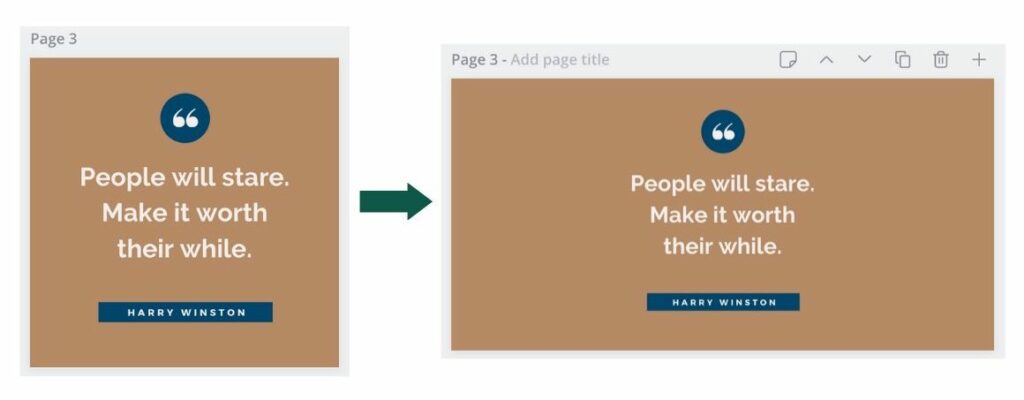
The ideal solution is to give each platform exactly what it wants.
So, ideally, for each blog post you publish, you’ll have a set of graphics optimized for each social media platform you’re focused on.
Canva makes this very easy in two ways:
- Magic Resize – create one graphic, then resize it to fit another platform
- Templates – use platform specific templates for each social media account
Either method makes is very easy to create social media graphics for your blog.
#9: Remove Background
Canva lets you remove the background of a photo with one click.
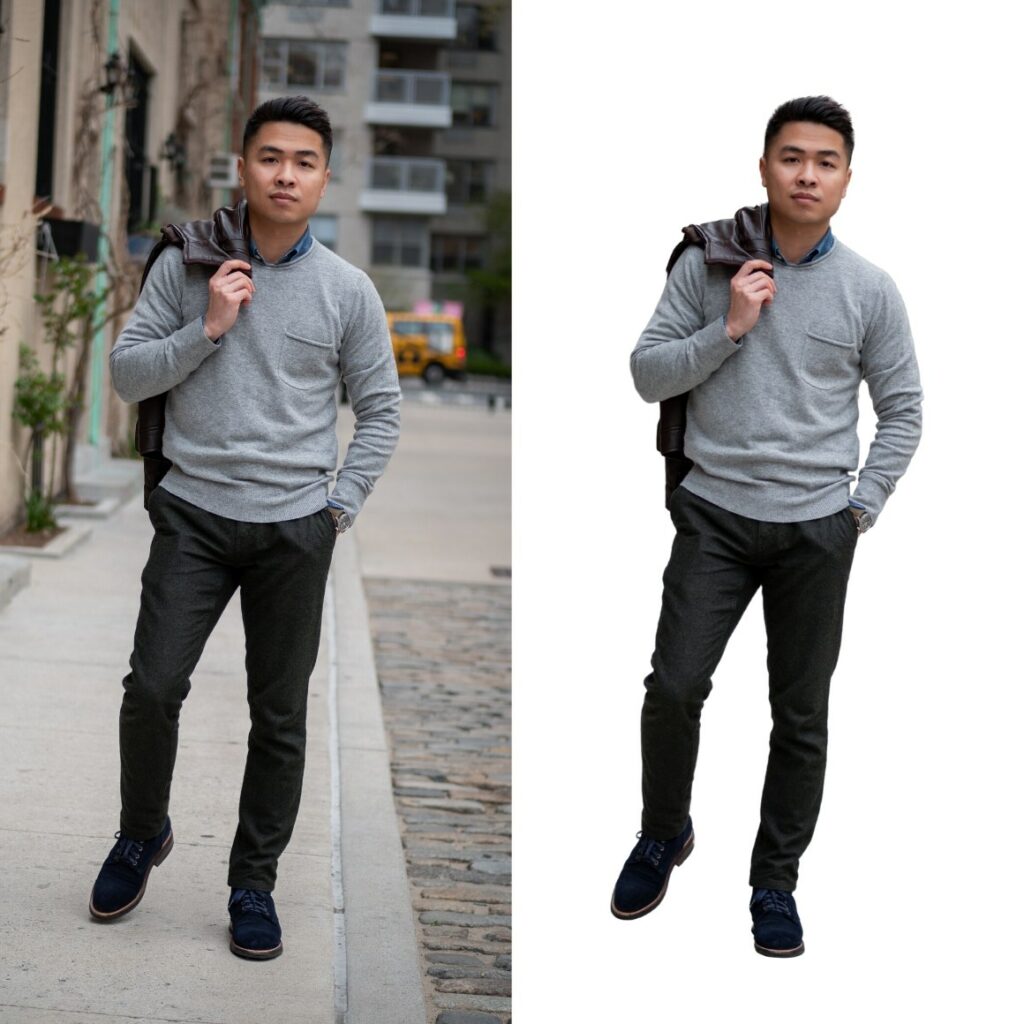
You can “mask out” a photo to make the background white (or any color) in seconds.
This is a relatively new feature, and it isn’t perfect, but it works surprisingly well most of the time.
I could write a whole post about different ways to use the “remove background” effect, but for now just know that it’s the easiest and cheapest way to get this common graphic design task done.
#10: Media Kits
Once your blog starts getting a decent amount of traffic, brands will start reaching out to ask about sponsored content.
If you’re interested in this form of monetization, you’re going to want to create a media kit.
A media kit contains everything a brand asks for when they’re deciding whether or not to work with you:
- Audience stats (traffic, etc.)
- Demographic info
- Options and rates
I used to use email to send brands this type of info, but that’s a manual and time consuming process.
Later, I created a PDF that I could send brands. The problem, though, is that my numbers are always changing.
If traffic went from 50k to 60k monthly visits, I didn’t want a PDF media kit floating around out there with outdated numbers.
Plus, what if you raise your rates (which you probably should)?
The solution is to create a “live” and updatable media kit with Canva (shown above). You can then share a link to this media kit and/or embed it on the Advertise page of your blog.
This way, you can update your kit anytime, and potential sponsors will never have access to outdated info.
Do you use Canva?
If you’re a fashion blogger (or any type of content creator), and you’re not using Canva yet, you’re missing out!
I highly recommend that you sign up for a Canva account (it’s free) and start taking advantage of its amazing features today.